A bathroom extractor fan should be sited close to the moisture source, wired to code, with power isolated first, and connected to the shortest, straightest duct route that terminates outdoors. Choose the correct capacity and type for room volume and duct length, use vibration mounts, seal and insulate penetrations, and fit backdrafting devices. Test airflow, switches and noise levels, and document work. Follow these steps for safe, effective installation; more detailed guidance and troubleshooting follow below.
Key Takeaways
- Isolate and test the circuit, and follow local electrical codes or hire a qualified electrician for wiring.
- Position the fan near the shower or bath, with clearance from direct water spray and easy access to the duct.
- Use the shortest, straightest insulated duct route with correct-diameter ducting and sealed joints to preserve airflow.
- Terminate outdoors with a weatherproof grille or roof/soffit outlet and a backdraft damper to prevent re-entrainment.
- Mount with vibration isolators, check operation and airflow post-installation, and schedule regular cleaning and inspections.
Table of Contents
Quick Installation Checklist for a Bathroom Extractor Fan
A concise checklist helps ensure a bathroom extractor fan is installed safely and effectively: the installer verifies that power is isolated, using a tester to confirm the circuits are dead before any wiring begins. A plan for fan placement is confirmed, avoiding steam jets and ensuring duct runs are as straight and short as possible. Required permits and local electrical codes are checked to preserve compliance and personal autonomy. Vent termination outdoors is identified to prevent backflow and moisture damage. The correct mounting method and secure fixings are prepared to resist vibration. The cable route and switch location are planned to minimize impact and enhance user convenience. Condensation and insulation risks are assessed; any ceiling or wall voids are sealed after fitting. Final electrical connections are completed by a qualified electrician when regulations demand. A post-installation test verifies airflow direction, switch function, and that the fan runs quietly, leaving the bathroom fresh and free.
Choose the Right Bathroom Extractor Fan (Size, Type, Features)
Having confirmed placement, wiring safety, and vent routing, the next step is selecting a fan sized and specified for the room’s moisture load and mounting constraints. The correct capacity is measured in litres per second (L/s) or cubic metres per hour (m3/h); choose a unit that meets the bathroom’s volume and typical occupancy higher flow for frequent showers. Opt for axial fans for simple through-wall or ceiling duct runs, centrifugal for longer or flexible ducts, and inline fans when space or aesthetics demand remote mounting. Consider integrated humidity sensors and timers for automatic control, low-noise ratings (sones) to preserve comfort, and IP ratings for splash-prone zones. Energy efficiency and a brushless DC motor extend lifespan and reduce running costs. Check grille dimensions and mounting depth to guarantee fit, and confirm compatibility with existing duct size. Prioritize replaceable filters and straightforward maintenance to keep the system effective while granting freedom from future complications.
Placement and Termination: Fan Location, Airflow, and Noise Control
Proper placement and clean termination determine an extractor fan’s effectiveness: locating the unit where humid air accumulates, minimizing duct length and bends, and routing exhaust away from intake points reduces residual moisture and prevents noise amplification. The fan should sit close to the moisture source—over the shower or bath yet avoid direct water spray and maintain safe clearance from ceiling joists and wiring. Positioning toward the highest point of steam accumulation speeds removal and reduces run time. Short, straight ducts preserve airflow and cut motor strain; use smooth bends when necessary and secure joints with duct tape and clamps to prevent leaks. Isolate the fan from structural elements with vibration mounts or foam gaskets to limit transmitted noise. Confirm the termination point directs air where it will disperse without re-entry to the building envelope. Finally, balance performance and discretion: choose a location that maximizes extraction while respecting users’ desire for quiet, unobtrusive operation.
Plan Duct Routes and Termination Options (Wall, Roof, Soffit)
With placement settled, attention turns to routing and termination: selecting wall, roof, or soffit exits affects airflow efficiency, weatherproofing, and noise. The route should be the shortest, straightest possible; each bend, length, and joint reduces performance. Rigid ducting yields better flow than flexible, but may require more clearance. Wall termination suits ground-floor or external-wall bathrooms—it’s simple, direct, and easier to maintain, yet requires a weatherproof grille and secure flashing to prevent drafts and ingress.
Roof termination works for shorter vertical runs from upper floors; a dedicated roof vent with appropriate flashing and a backdraft damper prevents water and pests. Soffit termination is discreet and convenient when side walls are unsuitable, but careful placement and baffled vents are needed to avoid recirculation into eaves and to meet building regulations. Whichever option is chosen, seal joints, insulate ducts passing through unheated spaces, and guarantee access for cleaning to retain performance and freedom over a bathroom’s air quality.
Electrical Basics for Bathroom Extractor Fans: DIY vs. Hire an Electrician
Although wiring a bathroom extractor fan can seem straightforward, it involves safety-critical considerations circuit protection, earthing, IP ratings for damp locations, and local regulations that determine whether a competent DIYer should proceed or a qualified electrician must be engaged. The decision hinges on skill, confidence, and legal requirements. Simple tasks connecting a fan to an existing, suitable circuit with correct isolation, using appropriate cable, and ensuring the fan’s IP rating matches the zone may be within scope for those experienced with domestic wiring and local codes. Anything requiring new circuits, consumer unit work, RCD protection changes, or confirmation of compliance should be handed to a registered electrician. Documentation, permits, and certificates are often needed for insurance and resale; a professional provides these. Safety is paramount: incorrect earthing, inadequate protection, or inappropriate placement in wet zones risks shocks and fires. The practical choice balances autonomy and responsibility: choose DIY only when competent and permitted, otherwise hire qualified help.
Mounting the Fan: Step‑By‑Step Fixing and Sealing Tips
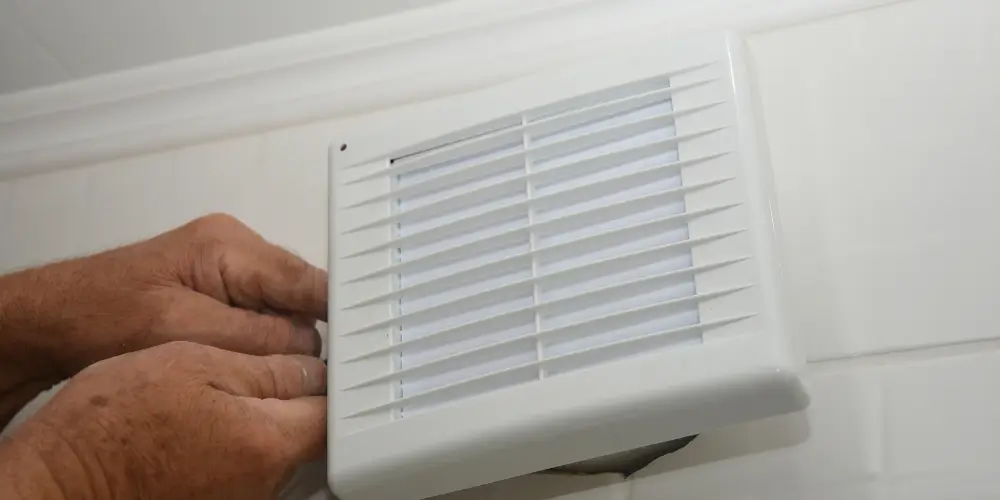
Begin by locating the fan’s ideal position relative to the shower, ceiling joists, and existing ductwork, confirming the chosen spot meets the room’s zoning and IP requirements. Next, mark mounting points using the fan’s template, verifying clearance for the motor and grille. Cut the opening accurately with appropriate tools, supporting joists if a section is removed. Fit the fan housing into place, level it, and secure it with corrosion‑resistant screws or brackets to structural members only; avoid relying on plasterboard alone. Connect the duct to the spigot with a short, straight section to minimise airflow resistance and fasten using clamps or foil tape rated for ventilation. Route wiring through a grommeted knockout; verify all electrical connections are completed per regulations and tested before finalising. Install the backdraft shutter where applicable, and attach the decorative grille last, using supplied fixings to allow future removal. The approach prioritises safety, serviceability, and efficient extraction while preserving freedom in selection and placement.

Seal, Flash, and Insulate to Prevent Leaks and Condensation
Seal all external penetrations, flash roof or wall terminations, and insulate the duct run to prevent water ingress and condensation buildup. The installer guarantees that the external grille or roof outlet is sealed with a compatible weatherproof sealant and backed with flashing integrated into existing roof or wall cladding. Flashing must direct water away from the penetration and sit under the upper courses of material to avoid capillary entry.
Insulate rigid or flexible ductwork with closed‑cell insulation to maintain internal air temperature above ambient dew point, reducing condensate formation. Support insulated runs to avoid sagging and collect points. Use vapour‑resistant tape and collars at joints and at the fan connection to preserve continuity of the thermal and moisture barrier. For external terminations over sheltered areas, fit a one‑way backdraft damper and a weather hood. All materials should be compatible with local building practice to safeguard the property and permit the occupant’s independent control of ventilation without added risk.
Testing, Maintenance, Common Mistakes, and Troubleshooting
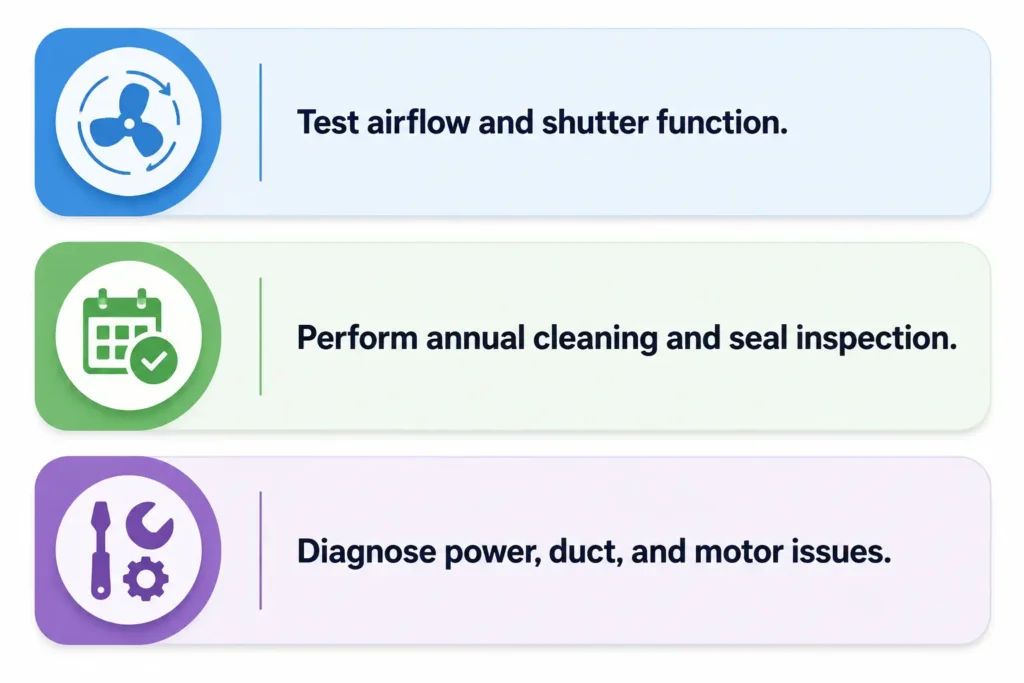
With external terminations properly sealed, flashed, and insulated, attention shifts to verifying system performance and guaranteeing long‑term reliability through routine care. The installer tests airflow with a simple smoke or tissue check, measures grille output when available, and confirms that shutters operate and backdraft dampers close. Maintenance routines preserve freedom from moisture damage: clean or replace filters, remove dust from impellers, and inspect seals annually. Troubleshooting follows logical steps: verify power, check switches and timers, then isolate motor noise or reduced flow to obstructions or worn bearings. Common mistakes restrict ventilation: undersized ducting, sharp bends, poor termination flashing, and neglecting condensate paths. Correcting these restores intended performance and prevents repeat work. Documentation of capacity, wiring, and service dates empowers owners to manage their environment without dependence on frequent contractors. When problems persist, consult manufacturer guidance and licensed professionals to guarantee safety and compliance.
Frequently Asked Questions
Can I Run an Extractor Fan Continuously?
Yes, continuous operation is possible. They note benefits of reduced mould and steady ventilation balanced against energy use and noise. Properly selected, installed, and maintained fans run continuously to support healthy indoor air without frequent intervention.
Will an Extractor Fan Reduce Energy Efficiency or Increase Bills?
An extractor fan can slightly raise energy use if run nonstop, but efficient, low-watt models and intermittent use minimize bills. One freely chooses a timer or humidity-controlled operation to balance ventilation needs and energy savings.
Are Bathroom Extractors Suitable for Wet Rooms or Open-Plan Bathrooms?
Yes, they suit wet rooms and open-plan bathrooms if rated IPX4+ and installed with appropriate ducting, isolation switches, and ventilation strategy. The owner retains the freedom to choose powerful, quiet models meeting local regulations and safety standards.
Can I Connect Multiple Bathrooms to One Extractor Fan?
Yes, one extractor can serve multiple bathrooms if properly sized and ducted; the person should guarantee adequate airflow, compliant backdrafting prevention, independent switches or humidity controls, and follow local regulations or consult a professional for ideal, free design choices.
How Long Does a Typical Extractor Fan Last Before Replacement?
A typical extractor fan lasts about 7–15 years before replacement. It depends on usage, build quality, and maintenance; those valuing autonomy should inspect, clean, and replace proactively to avoid failures and maintain fresh, independent living spaces.
Conclusion
Proper installation of a bathroom extractor fan guarantees effective moisture control, prevents mould, and preserves building fabric. Selecting the correct size and type, positioning to optimise airflow and minimise noise, planning a direct duct route with proper termination, and following electrical safety rules are essential. Secure mounting, thorough sealing, flashing and insulation stop leaks and condensation. Final testing and routine maintenance prevent faults; common mistakes, such as undersizing, poor sealing, and inadequate termination, should be avoided for lasting performance.